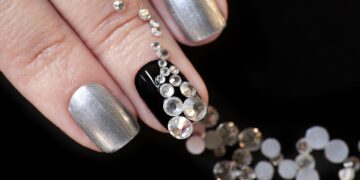
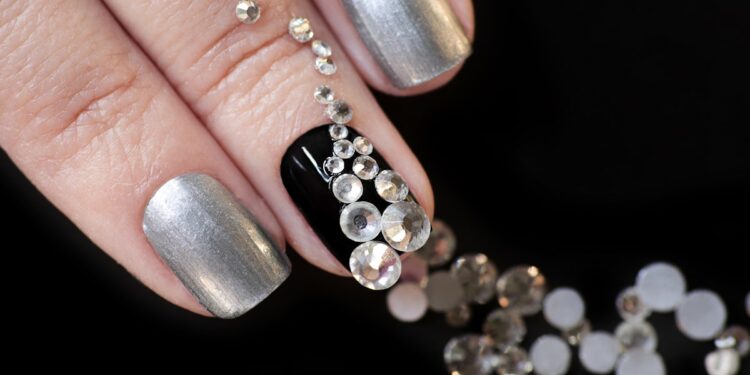
Introduction
Nail gems are a fabulous way to add sparkle to your manicure, making them a client favorite for those who love a bit of bling. However, the real challenge is ensuring these gems stay put long enough to impress. This guide, enriched with insights from expert nail artists, will walk you through the best techniques for applying nail gems so they last longer.
Choosing the Right Gems
The foundation of long-lasting nail art begins with selecting the right embellishments. Acrylic gems are budget-friendly, but they fall short in terms of durability and luster. For more brilliance and longevity, opt for glass or synthetic crystals, even if they come at a higher price. Experts recommend keeping flat-backed stones under 8mm for better adhesion and to prevent snagging.
Techniques for Applying Nail Gems
Using Nail Polish
Applying gems with nail polish is suitable for short-term use and is perfect for clients who frequently change their manicures. To apply, use a top coat on slightly dry nails, press the gem gently so it sets properly without sliding, and avoid coating over the gem. Instead, apply a top coat around the base if needed.
Using Nail Glue or Resin
Nail glue provides a reliable hold, although it’s crucial to use it with care, as it can corrode the gem’s surface. Ensure the top coat is completely dry, then apply glue to the nail itself, using minimal amounts. A moistened cuticle stick or wax-tipped tool can help you place the gems more accurately. Additional glue around the base will increase durability.
Gel Application
For the most robust hold, applying gems with gel is often the best choice. Gel does not harm crystal stones, allowing you to soak and reuse them. Start with a thick gel to set the gem and cure it under a lamp. A medium-thin gel can be used to secure the edges, acting as a ‘gel prong’ to hold the gem firmly in place.
Best Placement for Gems
Placement plays a critical role in enduring gem application. Position the gems closer to the cuticle, as this area is more stable and less prone to bending. However, avoid placing them too close to avoid difficulties with sealing. Smaller stones work best on natural nails, as larger stones may pop off due to nail flexibility.
Step-by-Step Guide to Applying Nail Gems
- Prep the nail and apply two coats of gel polish, curing after each coat.
- Use a lint-free wipe to remove the tacky layer without adding a top coat, and lightly buff the base.
- Place a dab of gel adhesive on the buffed area.
- Using a wax pen, position large pointed-back gems on the adhesive and cure again.
- Apply resin around the gaps of larger gems, using an aerosol nail drying spray for better adhesion.
Experiment with different techniques, possibly integrating both gel and resin for added security. The goal is to ensure the gems are secured around their entire perimeter.
Conclusion
Whether you’re using polish, glue, or gel, the right technique and placement ensure your nail gems will add that sparkling touch your clients desire. By following these expert tips, you’ll enhance your service and delight those craving a touch of glamor in their lives.
For more nail art inspirations, follow Nailpro on Instagram or subscribe to our newsletter for the latest tips and trends in the world of nail fashion.


