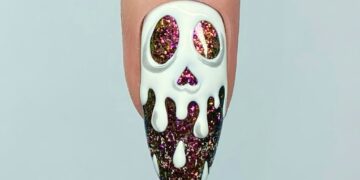
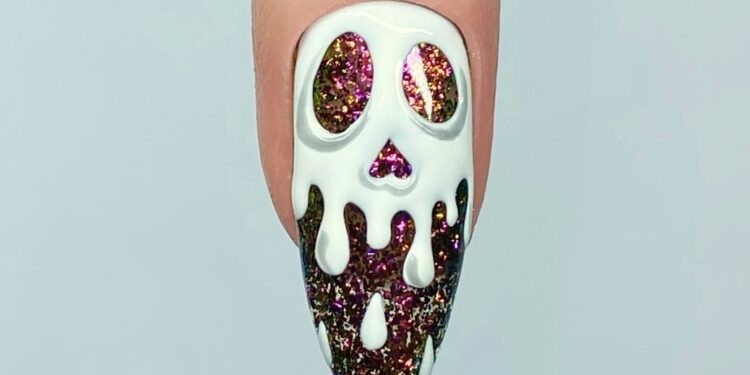
How to Create Dripping Skull Nail Art
Nail art enthusiasts, rejoice! With Halloween just around the corner, it’s time to take your nail designs to the next level. Fie Pedersen, a renowned nail technician from Denmark, has shared a step-by-step guide to help you achieve a dripping skull design that will undoubtedly captivate and impress. Whether you’re a newbie or an experienced nail artist, this guide will walk you through the process with ease.
Materials You’ll Need:
- White gel polish (ARTY gel white)
- Black pigment mixed with top coat
- Top coat (Top it off)
- Nail art brush (ARTY brush size 9)
- Karma Chameleon glitter gel
Step 1: Outline the Eye Sockets
Begin by applying a layer of white gel polish to sketch out the eye sockets on your nail. This is the foundational step that defines the skull’s structure. Use steady, deliberate strokes to outline the desired shape. If needed, cure the gel to set the design in place.
Step 2: Outline the Nose
Next, use the same white gel to outline the skull’s nose. This is the centerpiece that will add character to your skull design. Ensuring symmetry in your design is key, so take your time with this step. Cure the gel once again if necessary.
Step 3: Fill Around the Eyes and Under the Nose
Once the outlines are complete, begin to fill the areas around the eyes and under the nose with the white gel. This creates a more pronounced and realistic skull appearance. Ensure the coverage is smooth and even before moving to the next step.
Step 4: Add the Drip Effect
The defining feature of this nail art is the dripping effect. Carefully paint droplets leading up to the skull, starting from the base of the nail and following a natural drip pattern. This adds a spooky and unique flair to your design. Cure to set the effect.
Step 5: Connect Droplets and Refine
With the droplets in place, connect them to the main skull design and round out the connection points to ensure a fluid look. Add smaller droplets further down the nail to enhance the dripping effect. Cure your design to lock in the final shape.
Step 6: Add Shadows and Finish
Mix a small amount of black pigment with your top coat and apply it strategically to create shadows and add depth to your design. This step gives your skull a more lifelike and dimensional appearance. Complete your artwork by applying another layer of top coat and curing.
Optional Touch: Glitters
For an added sparkle, consider using Karma Chameleon glitter gel to highlight certain areas of your design. This adds a touch of glamour without undermining the spooky vibes.
By following these steps, your nails will boast an intricate and eye-catching dripping skull design perfect for the Halloween season or any time you’re feeling a bit edgy. Remember to experiment with colors and effects to make the design truly your own. Happy nail painting!


