Introduction to Quality Crystals for Nails
Nail art enthusiasts know that the right crystal can transform a simple manicure into a work of art. However, with a range of options available, choosing the best crystals for nail applications can be daunting. Experts Malin Schlott and Emelie Westin provide tips on selecting the finest crystals and mastering the art of their application.
Understanding Crystal Materials
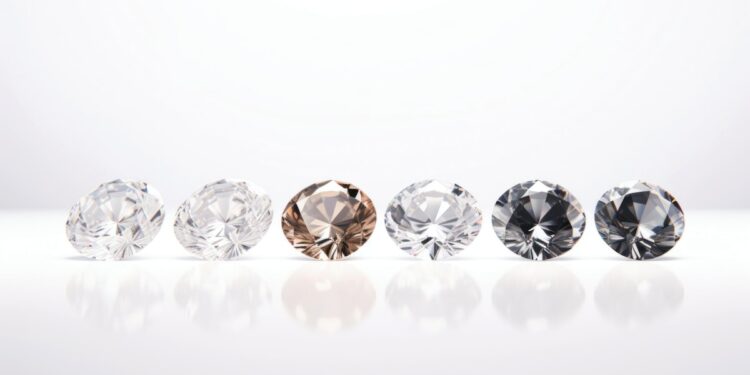
Crystals used in nail art are mainly crafted from plastic or glass. Glass crystals are favored for their durability and resistance to everyday wear and tear, while plastic crystals are more likely to degrade quickly. Regardless of the material, crystals are available in various cuts, shapes, and sizes, each enhancing the nail design’s brilliance differently.
The Importance of Cut and Facets
The cut of the crystal significantly influences its sparkle. More facets mean greater brilliance. A star pattern can be seen in 16-faceted crystals, one of the most sought-after cuts among crystal enthusiasts.
Colors and Stone Sizes
Crystals are measured in Stone Size (SS), with a lower number indicating a smaller crystal. In the nail industry, SS3 is usually the minimum size available. These crystals come in a myriad of colors and shapes, providing endless creative possibilities.
Avoiding Lead in Crystals
Selecting lead-free crystals is essential due to the health risks associated with lead oxide. Always ensure that your crystals are safe and only remove them using a cuticle nipper to avoid health hazards.
Effective Crystal Placement Techniques
For long-lasting applications, the choice of gel is key. A low viscosity gel is ideal for designs covering the entire nail with crystals and caviar beads, though it requires skill to handle due to its fluidity. Securing the crystals with the right gel adhesion method ensures that they remain intact for longer periods.
Gel Application and Crystal Securing
When applying crystals, always cover the girdle with gel to secure the placement effectively. You can later reinforce the bond with a top coat around the crystals using a thin brush. This method is excellent for designs where the entire nail isn’t covered.
Creative Design and Inspiration
Before starting, select a harmonious color scheme that complements the client’s nail color. Combining different shapes and sizes adds depth, while caviar beads enhance the design’s cohesion by holding the crystals in place.
Using Crystal Maps
For design ideas, save images of crystal maps on your device. These visual guides can inspire unique combinations when a client requests a crystal design. Remember, applying a top coat over crystals is unnecessary and diminishes their sparkle. Proper gel adhesion eliminates the need for additional top coatings.
Exploring Crystalization Beyond Nails
Crystals aren’t limited to nails alone. Crystalizing extends to tumblers, shoes, phone cases, and more, offering endless decorative possibilities. The adhesive requirements depend on the item you’re attaching them to, ensuring a long-lasting embellishment.
About the Experts
Emelie Westin is a nail artist, co-founder of Nail Art Queens, and owner of Design in Light. Find her on Instagram, TikTok, and Facebook @beautiful_in_light. Malin Schlott, also a nail artist and co-founder of Nail Art Queens, shares her expertise on Instagram @malinsnagelkonst.


