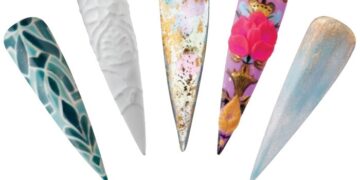
Embrace the Vibrancy of Moroccan-Inspired Nail Art
Morocco is a land of rich cultural heritage, vibrant colors, and intricate designs that dazzle the eye. From the breathtaking architecture to the intricate details found in Moroccan textiles, it’s no wonder that these elements have inspired stunning nail art designs. Whether you’re looking to add a pop of color or intricate patterns to your nails, these Moroccan-inspired nail art tips are just what you need to elevate your style.
Why Moroccan Nail Art?
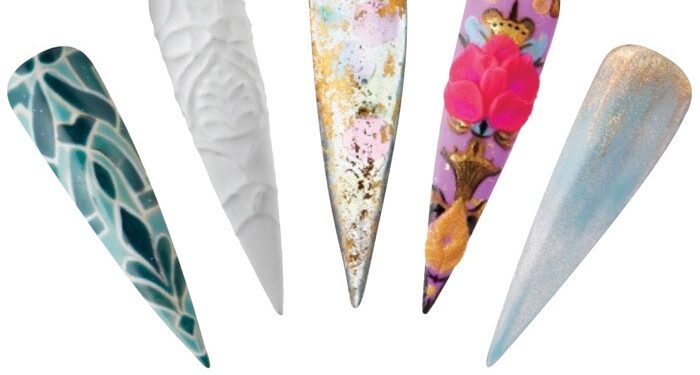
The allure of Moroccan nail designs lies in their ability to combine earth tones with vibrant colors, creating a unique and eclectic blend. As noted by nail artists Vivian Xue and Maja Stark from Pamper Nail Gallery, “We wanted to create an eclectic set that married the earth tones of Moroccan architecture with the bold colors of the decor.” This marriage of vivid colors and earthy tones is what makes Moroccan-style nails so captivating.
Step-by-Step: Moroccan Mosaic Nail Design
To capture the essence of Moroccan mosaics, follow these simple steps and bring the stunning details of Moroccan tiles to your nails:
Step 1: Base Coat
Start by applying two coats of pale peach gel polish as your base. This color provides a warm foundation reminiscent of the sun-drenched Moroccan landscape.
Step 2: Create Mosaic Patterns
Using dark green gel polish, paint linear and floral shapes that mimic the exquisite designs found on Moroccan tiles. These designs should be bold and intricate, capturing the eye with their complexity.
Step 3: Add Tile Effect
Fill the spaces around your dark green designs with teal gel polish, making sure to leave a small, imperfect margin for a tiled effect. This color contrast enhances the dimensional look of your mosaic design.
Step 4: Detail with “Grout Lines”
Use a striping brush to apply white gel polish as grout lines around the dark green shapes. For additional detail, use black and white gel polish to create the illusion of cracked tiles, adding texture to your design. Finish with a top coat.
Step-by-Step: Moroccan Glow-in-the-Dark Design
For an extra flair, a glow-in-the-dark Moroccan design is both fun and striking. Follow these steps to achieve the look:
Step 1: Acrylic Overlay
Create a base with blue jelly glow-in-the-dark acrylic. This base will illuminate your design under UV light, adding an unexpected glow.
Step 2: Marble Effect
Apply teal and clear acrylic over the base and swirl gently for a marble effect. This technique mimics the beautiful stonework often found in Moroccan design.
Step 3: Ombré Glow
Mix turquoise glow-in-the-dark pigment with clear acrylic. With small beads of wet acrylic, create an ombré effect from the cuticle area down to the free edge, for a mesmerizing finish.
Step 4: Golden Accents
Using a damp brush, apply small amounts of gold chrome from the cuticle downward. File smoothly and apply a top coat to seal the design. This touch of gold mimics the luxurious details found in Moroccan architecture.
The Finishing Touch
Moroccan-inspired nail art is all about capturing the essence of one of the world’s most visually appealing cultures on your fingertips. Shine a UV or black light to watch your designs glow, adding an otherworldly dimension to your style. Whether for casual or formal occasions, these nail designs bring a piece of Morocco’s magic into your everyday look.
For more innovative nail art ideas, visit Pamela Nail Gallery or follow the latest trends shared by nail artists like Vivian Xue and Maja Stark on their Instagram handles.


