Introduction to Wedding Watercolor Nail Design
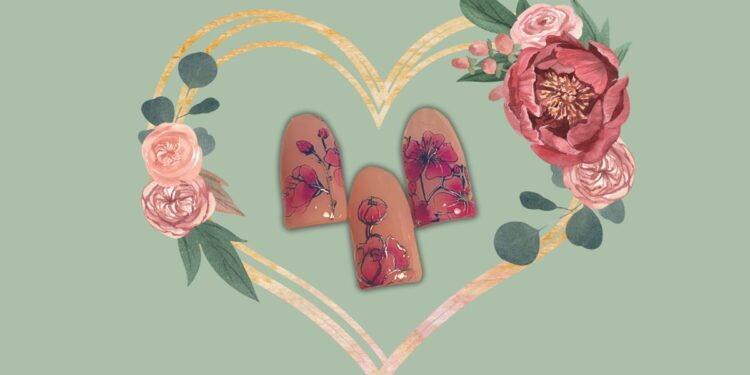
A wedding is one of the most cherished days in anyone’s life. As every bride strives to look impeccable, nails become an essential part of the bridal look. While traditional nail designs like the French manicure remain popular, many brides today are leaning towards unique and personalized nail art that reflects their personalities and wedding themes. This tutorial will guide you through creating a stunning watercolor nail design with soft floral motifs – a perfect choice for those looking to add a splash of color to their big day.
Materials Needed for Watercolor Nail Designs
To create an exquisite watercolor nail design, you will need the following materials:
- Base coat and top coat nail polish
- Soft pastel-colored nail polishes
- Nail stamping plates with floral designs
- Nail stamping scraper and stamper
- Watercolor nail markers or art brushes
- Nail polish remover and cotton pads
- Protective gloves and aprons to prevent stains
Step-by-Step Tutorial for Wedding Watercolor Nails
Step 1: Preparing the Nails
Begin by cleansing your nails with nail polish remover to remove any old polish or oils. Shape and file your nails to your desired length and style, ensuring a smooth surface for painting. Apply a clear base coat to protect your nails and provide a smooth canvas.
Step 2: Painting the Base Color
Choose a pastel color that complements your wedding theme. Apply two coats for an even and opaque finish. Allow each layer to dry completely.
Step 3: Stamping Floral Designs
Choose a floral pattern from your nail stamping plate. Apply a contrasting nail polish on the design, scrape off the excess polish using the scraper, and press the stamper onto the design to pick it up. Gently roll or press the stamper onto your nail to transfer the design.
Step 4: Creating the Watercolor Effect
Use watercolor nail markers or thin art brushes to gently paint over the floral designs. Dip the brushes in a small amount of polish remover to create a softened, watercolor effect. Blend the colors carefully to avoid harsh lines.
Step 5: Finishing Touches
Once satisfied with your design, apply a clear topcoat to seal in your artwork and add a glossy finish. This step will also extend the wear of your manicure.
Tips for Perfect Wedding Watercolor Nails
Practice on a piece of paper or a spare nail tip before applying the watercolor effect to your nails. This will help you get comfortable with the technique. Always work in a well-ventilated space to allow your nails to dry thoroughly and prevent smudging. Consider adding small rhinestones or glitter for an extra touch of elegance and sophistication.
Conclusion
With this watercolor nail design tutorial, you can achieve a stunning and personalized look for your wedding day. These techniques can also be adapted for other events or even everyday wear. The combination of soft pastels and floral designs creates an ethereal vibe, perfect for a bride looking to break away from traditional nail art while still maintaining a beautifully elegant appearance.


